Simply Saved: tutorial
Showing posts with label tutorial. Show all posts

January 15, 2012

love is in the air

3:31 PM 0
love is in the air
what you'll need:
scissors
your choice of paint
a jar
paint brushes
a paper plate


first start painting the inside of your jar to give it a base


(ignore that heart)


if you want to speed up the drying process you can dry it with a hair dryer on low and cool.  don't put it right up against the opening of the jar.  you want to leave some space for the air to escape.


then pour a generous amount of paint in the jar and shake.


or turn it up side down.


then dry!
to get out all that excess paint on the bottom turn the jar upside down on a paper plate for a good thirty minutes.
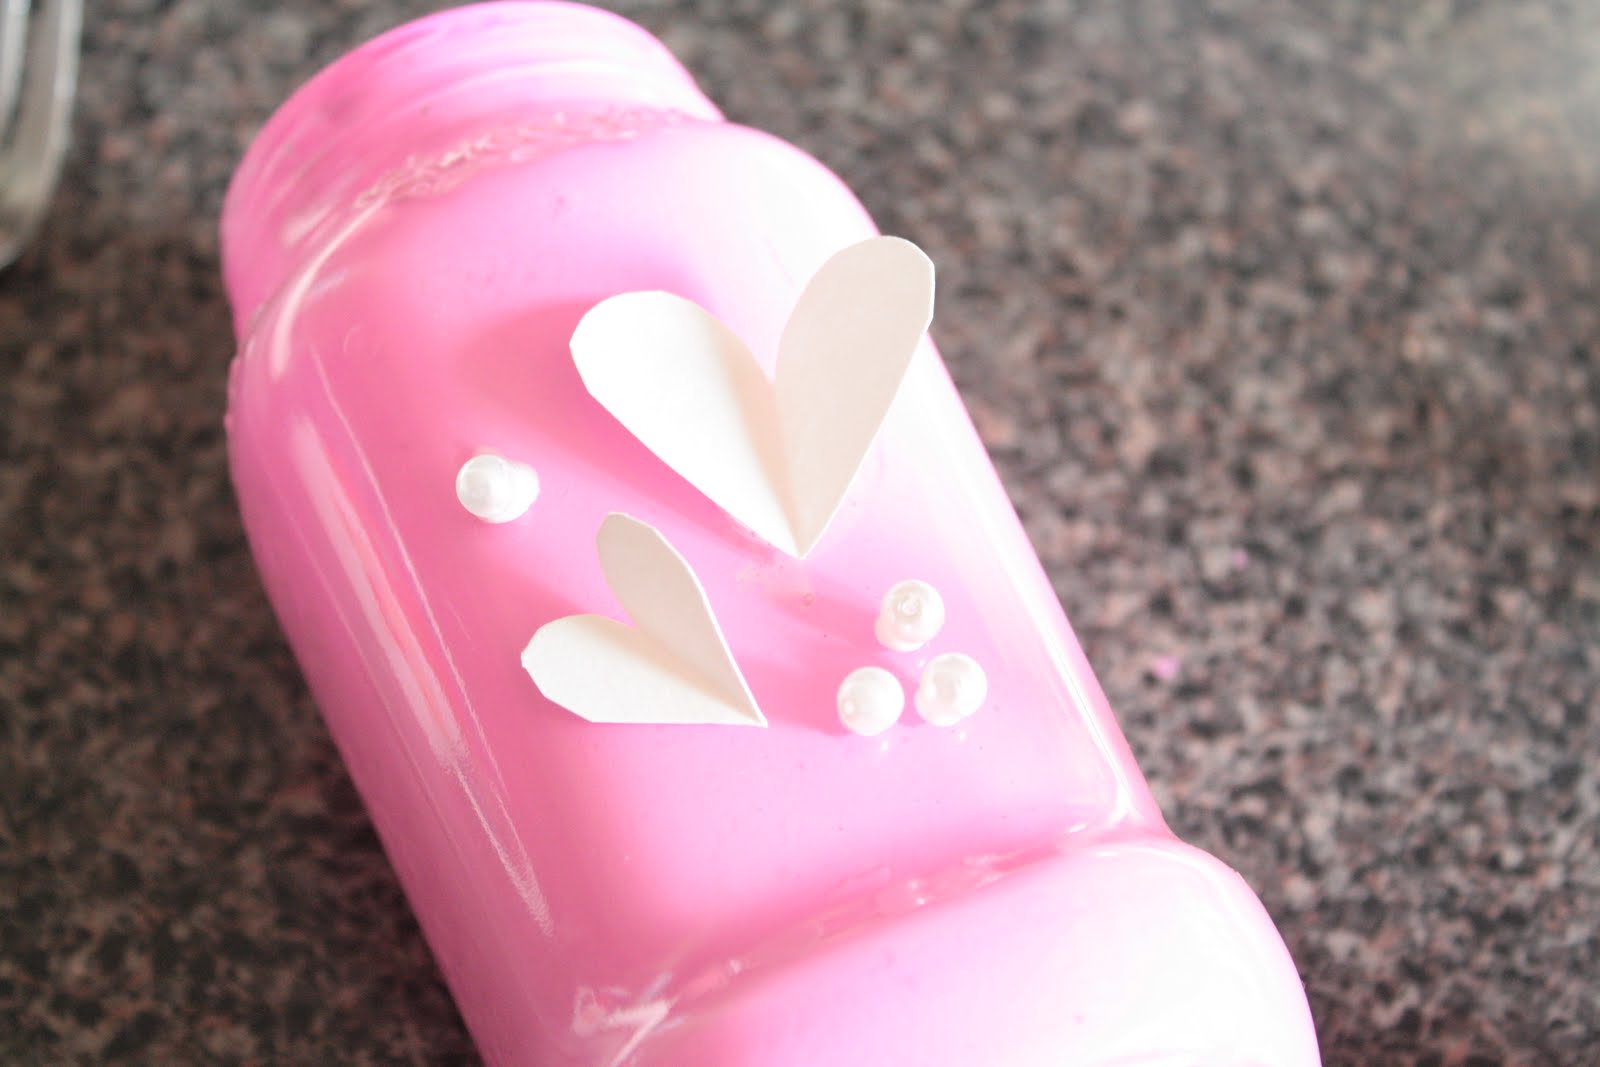

then decorate however you want.
hoped you enjoyed this little valentines day tutorial!

August 27, 2011

Bun Curls|Overnight

9:12 PM 0
Bun Curls|Overnight
 I don't remember where I found this tutorial (youtube i think) but I absolutely love it.  So I decided to share my curly hair tutorial!  

For this tutorial you will need 2-4 rubber bands and a brush.  Your hair needs to be slightly damp and brushed out.  Then clip half of it up so you can focus on the bottom layer.

Now take split your hair into two sections.  Start twisting on section like below---

Twist it up into a bun and put it up with a hair tie.

 It should look like this.
 Do the same thing to the other side.  Now take down the top half of you hair and spit it into four sections.  And twist!

 Now do two sections on each side of your hair.  Twist them separately the twist them into a bun.
 The rosette bun!
 And you will end up looking something like this---
 And getting something like this.  This is halfway through the day (five-ish)  so some of the wave/curl fell out.


 Hope you find an amazing new hairstyle!

June 25, 2011

Heart Garland DIY

2:00 PM 0
Heart Garland DIY
First I got a bunch of paint cards from a paint store and cut each color apart.
  Then I cut a bunch of these out of hearts.
And sowed them together to make this.
Just a tip make sure you sow/string them together on the top so the bottom is heavier. If you sow them together in the middle they will flip over.

June 21, 2011

cute DIY bookmark tutorial

9:49 PM 0
cute DIY bookmark tutorial
  Today I'm going to show you a cute DIY bookmark tutorial made out of an old envelope. It's inexpensive and easy to do. Plus you get rid of your old envelopes. You'll need one old envelope, scissors, a pen and/ or pencil, and anything else you want to decorate your bookmark with. The pictures speak for themselves.


This is what it looks like closed. See how easy that was? I'm going to try more elaborate designs on them. Maybe some bigger ones too. We'll see(: Enjoy!

May 06, 2011

Fishtail Braid

6:41 PM 0
Fishtail Braid
    Finally, today I made a tutorial on how to Fishtail Braid! I hope I explained everything right. And ya'll can understand it all. Enjoy!


Did you like it? Hope this helps!

XOXO,
Mckenna

February 12, 2011

Scrunch Pom Pom Headband!

7:27 PM 0
Scrunch Pom Pom Headband!
Hey!

You know Little Miss Momma right?

Well some time ago I found this Headband Tutorial and I thought it was so cute I had to make it!

So here's my version of the Scrunch Pom Pom Headband!

These are the supplies you need........


And heres a link for the full


Cute right!?

I L-O-V-E it!

So go make your own adorable scrunch headband!


Photobucket

February 10, 2011

News and Camera Straps

11:48 PM 0
News and Camera Straps
Hello
My Great Grandmother (Maw maw) passed at Wednesday at 1:30 in the morning. We went to the visitation tonight and the funeral is tomorrow. We're all really sad about it but we're glad she's not in pain anymore......but in more happy news! Today I found this camera strap tutorial!  It's from Paige at Simply Handmade by Paige.  I really want a camera strap cover for when I get my camera but I don't want to pay thirty-five dollars for it.  So I might try to make one.  Exciting right? Are you feeling tingly from the excitement building? I  would like to make a black and white damask with sky blue ruffles(:


Photobucket

January 31, 2011

Pretty Treasures!

4:17 PM 0
Pretty Treasures!
Hello!
I am feeling much much better!
Finally!
So while I was sick I was working on my very first freebie!
Okay there are only presets for gimp but I'm excited!
Some instructions/tutorial below(:
(this is my tutorial for this week)
(sorry I know its a computer tutorial and will not apply to everyone....I still haven't gotten my camera fixed)


How to Download in Bulk:
* All of them at one time*
Click download
It will take you to the Gimp Presets folder
The check all of the boxes or just the ones you want to download
click the more actions button at the top
choose download
 Enjoy!

How to Download One at a time:
Click download below the preset you want
It will take you to a page that say

No preview available
Download

Enjoy!


How to use on Gimp:

First open up Gimp.

Then go to colors.

Then go to curves.

(click on the image to make it bigger)
Click on the tab button


And upload the preset you want to use.


Questions or suggestions?
Comment Below!


Here they are!

Before ANY editing(:
(except a watermark)


This one is called Brighten My Day! This will will brighen up your photo and gives it nice look!


This is Brighten My Day2! It gives you beautiful looking skin(:

(I kinda like this one)


This is Warmth!  This warms up a photo! It's on of my personal favorites too.

I can't tell you how many times I've edited this picture!
Just because I love it so much
Enjoy!

Photobucket